Understanding Calibration Frames
Every clean astrophoto hides a second set of exposures you never see. Here is what calibration frames do, and why they turn a noisy snapshot into a deep, smooth image.
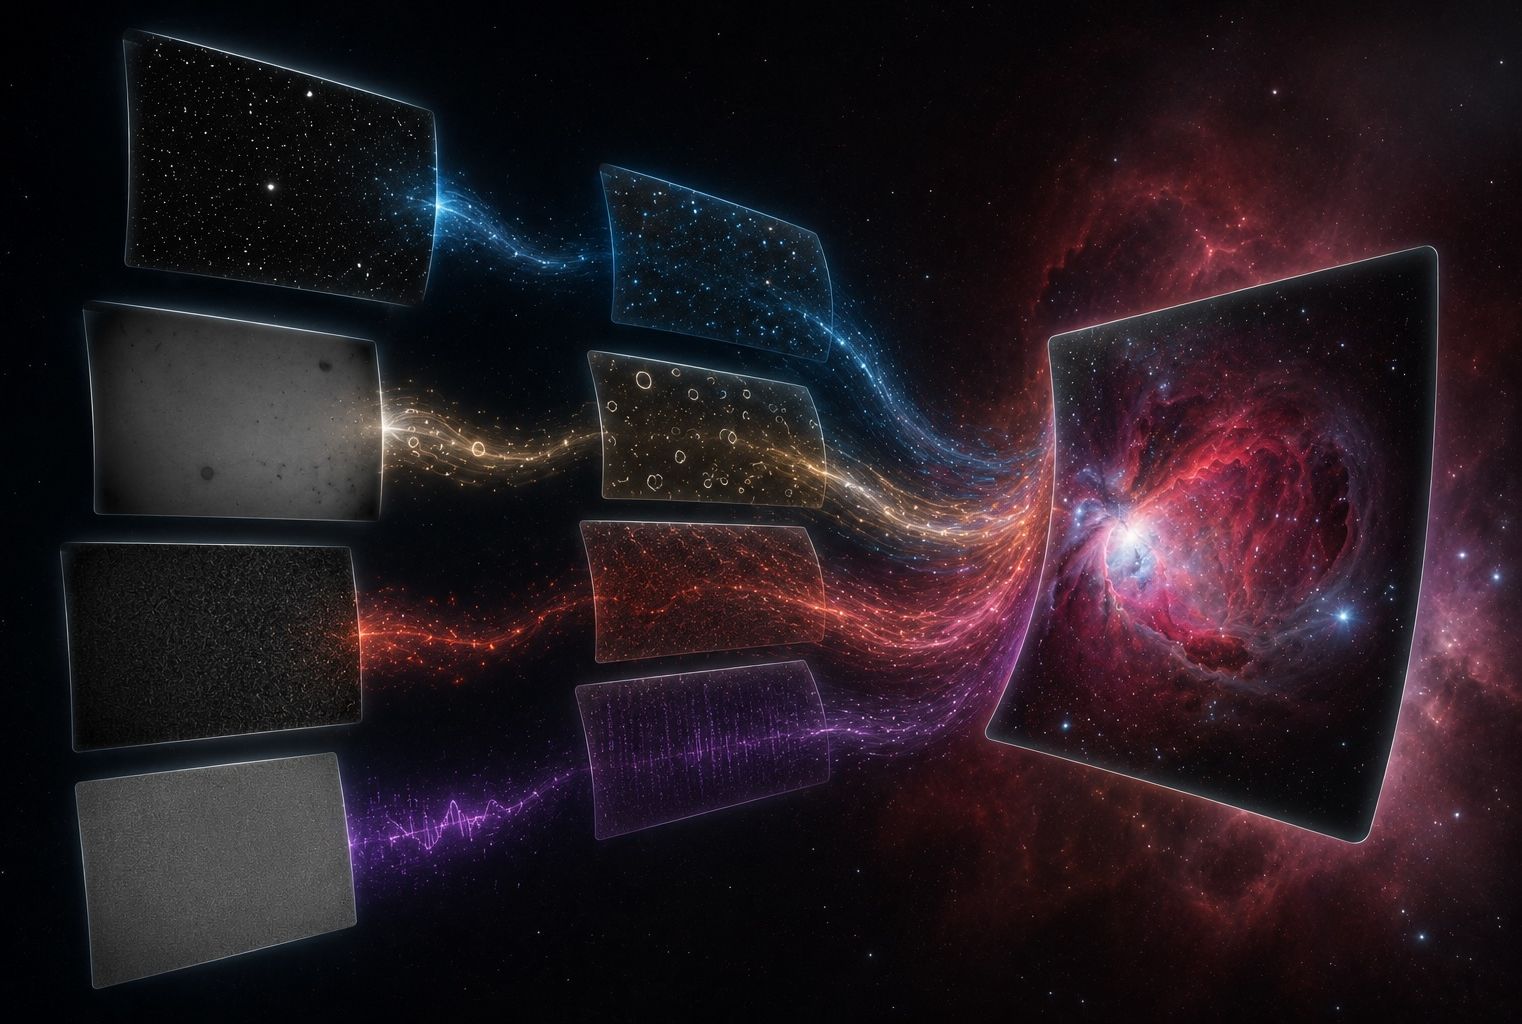
Point a camera at the night sky for five minutes and you do not just record starlight. You also record the sensor warming up, dust on the optics, the corners of the frame falling darker than the centre, and the faint electronic pattern the chip leaves on every read. Calibration frames are extra exposures that measure those flaws on their own, so your stacking software can remove them and leave the real signal behind.
Stacking many exposures beats down random noise. Calibration handles the other half of the problem: the repeatable, non-random artifacts that stacking alone will never remove.
Why your subs need calibrating
A single exposure of your target is a light frame. Buried inside it are three kinds of unwanted signal:
Thermal signal: the sensor generates its own charge as it collects light, worse when it is warm. It shows up as a grainy glow and bright hot pixels.
Optical artifacts: vignetting (darker corners) and dust shadows (soft grey doughnuts) caused by the optics and filter, not the sky.
Read signal: a small electronic offset the camera adds every time it reads the chip.
Each one is consistent from frame to frame, which is exactly why you can measure and subtract it.

The frame types
Darks
A dark frame is shot with the telescope capped, at the same exposure time, gain and temperature as your lights. It captures pure thermal signal, amp glow and hot pixels. Subtract a dark from a light and those features disappear. Because a cooled camera holds a fixed temperature, you can build a dark library once and reuse it for months.
Flats
A flat frame is an exposure of an evenly lit, featureless surface, taken through the exact same optical train without touching focus or rotation. It records how the system actually delivers light: the dimmer corners and every dust shadow. Your software divides the lights by the flat to flatten the field and erase the dust. Flats must be taken for each configuration, since moving the camera or cleaning the glass changes the pattern.
Bias and dark-flats
Flats need calibrating before they can be used, which is what bias frames or dark-flats are for. A bias frame is the shortest exposure the camera can take, capturing only the read offset. A dark-flat is a dark matched to the short exposure time of your flats. Most modern CMOS sensors, including the cooled colour camera on our rig, calibrate flats more cleanly with dark-flats than with bias, so that is the safer default.
Rule of thumb: darks fix the sensor, flats fix the optics, and bias or dark-flats make the flats trustworthy.
Master frames
You never apply a single calibration frame on its own, because one dark or flat carries its own noise that you would only add back into your image. You shoot many of each (commonly 20 to 50) and your software averages them into a clean master dark and master flat. Those masters are what actually get applied to your lights.
How it fits together
In the stacking software the order is automatic, but it helps to know what is happening:
Subtract the master dark from every light to remove thermal signal and hot pixels.
Divide by the master flat to even out the illumination and clear dust shadows.
Align the calibrated lights on the stars and integrate them into a single, deep, clean image.
Skip calibration and you can still make a picture, but you will spend the rest of your edit fighting gradients, dust rings and a speckle of stubborn hot pixels. Do it properly and your data stretches further with far less effort.